🛥️ Winterizing Your Outboard Motor: Why, When, and How to Do It Right 🌬️
Ahoy there! As winter approaches and the colder weather sets in, it’s important to winterize your outboard motor to ensure that it remains in good condition and ready to go once the warmer months roll around 😎. But for those new to boating, the idea of winterizing your outboard motor can seem daunting and confusing. Fear not! In this guide, we’ll break down why, when, and how to winterize your outboard motor so that you can be confident that you’re doing it right.
❄️ Why Winterize Your Outboard Motor?
Simply put, winterizing your outboard motor is all about protecting your investment. Boating can be an expensive hobby, and outboard motors aren’t cheap 💸. By taking the necessary steps to winterize your motor, you’re ensuring that it will be in good condition when you’re ready to hit the water again. Failing to winterize your motor can result in damage from freezing temperatures, corrosion, and other issues that can be costly to repair. So don’t skip this step!
⏰ When to Winterize Your Outboard Motor
The best time to winterize your outboard motor depends on where you live and how you use your boat. In general, if you live in an area with harsh winters, you should winterize your motor before the first freeze. But if you’re in a milder climate, you may be able to wait until later in the season. A good rule of thumb is to winterize your motor when you know you won’t be using your boat for an extended period of time.
One thing to keep in mind is that it’s better to winterize your motor early than late. Freezing temperatures can cause a lot of damage to your motor if it’s not properly prepared, so it’s better to err on the side of caution and winterize early.
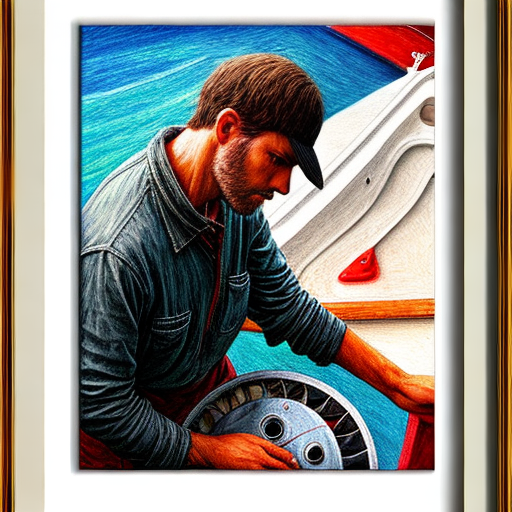
🛠️ How to Winterize Your Outboard Motor
Now onto the main event! Here’s a step-by-step guide for how to winterize your outboard motor:
-
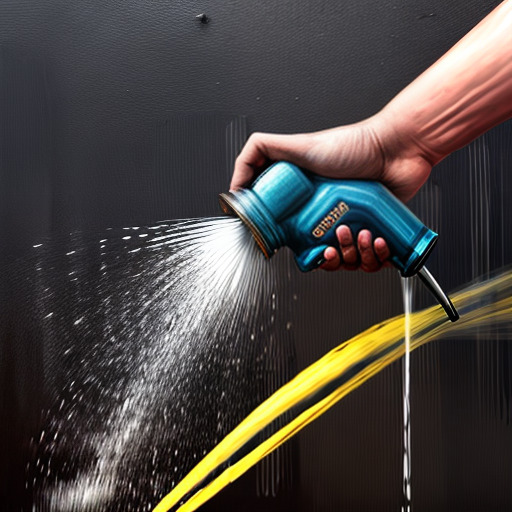
Flush the motor: Start by flushing out the cooling system with fresh water. This will help remove any debris or saltwater that could cause corrosion over the winter.
-
Treat the fuel: Add a fuel stabilizer to the gas tank to prevent the fuel from breaking down and causing damage to your motor. Be sure to follow the manufacturer’s instructions and run the motor for a few minutes to circulate the treated fuel.
-
Change the oil: Dirty oil can cause all sorts of problems, so it’s important to change the oil before winter storage. Be sure to use an oil recommended by the manufacturer.
-
Remove the battery: Make sure to remove the battery from your boat and store it in a cool, dry place.
-
Grease fittings: Lubricate any moving parts and grease fittings to prevent corrosion and excess wear.
-
Fog the cylinders: Spray fogging oil into the carburetor and spark plug holes to protect the inside of your motor from corrosion.
-
Cover the motor: Finally, cover your motor with a breathable cover to protect it from the elements.
And there you have it! By following these steps, you’ll be well on your way to protecting your outboard motor from the winter weather.
🔍 Recap
To recap, winterizing your outboard motor is an important step in protecting your investment. Make sure to winterize before the first freeze, and follow the steps above to properly prepare your motor for winter storage. By doing so, you’ll be able to hit the water again in the spring with confidence and peace of mind.

And that’s all for this guide! We hope it was helpful in demystifying the process of winterizing your outboard motor. Stay safe and happy boating! ⛵