Staining Techniques for Beautifully Aging Wood Projects 💻🎨🌳
Hi there! If you’re a woodworker, or if you’re looking into a DIY wood project, then you should know how important it is to have the right knowledge on staining techniques. In this blog, we will go over some of the best techniques that will ensure your wood projects age beautifully - and even better -stand the test of time! 🕰️
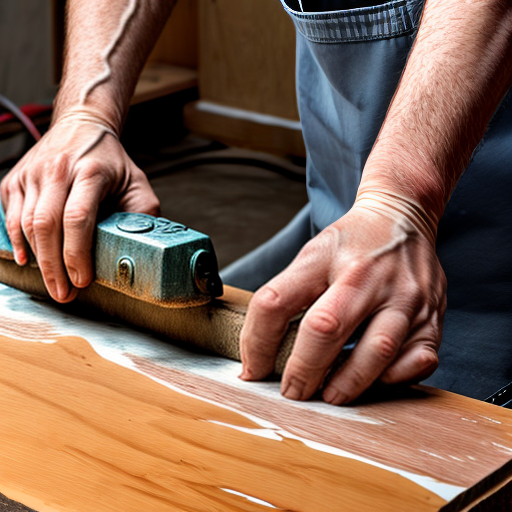
1. Sanding for a Smooth Finish
Before staining your wood project, it is imperative that you sand the entire surface area. Sanding is the process of removing the top layer of wood to create a smooth surface. This process helps the wood stain produce an even surface that will be ready to receive the first coat of wood stain. Sanding is essential, especially when working with hardwoods, as these woods tend to have a hard grain and can be tricky to work with.
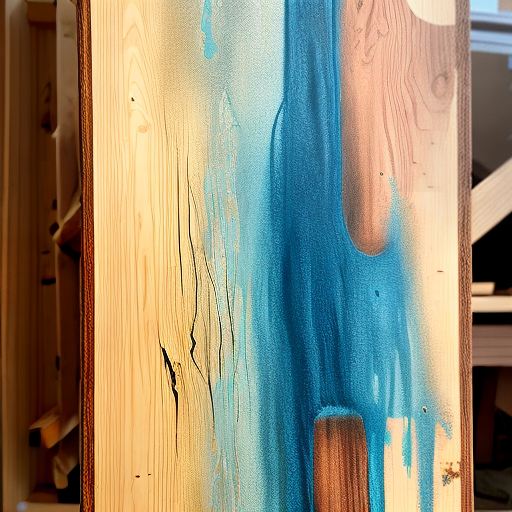
2. The Importance of Pre-Stain Conditioners
A pre-stain conditioner is just as important as sanding. This product helps prevent blotches on the surface of your project. Pre-stain conditioners work by penetrating your wood with a minimum amount of color and allowing the wood stain to bond properly. It is best to apply the pre-stain conditioner using a cloth similar to an old T-shirt so that the wood absorbs the solution completely.
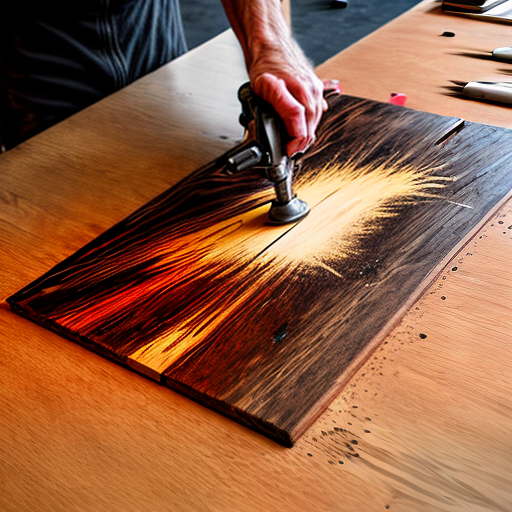
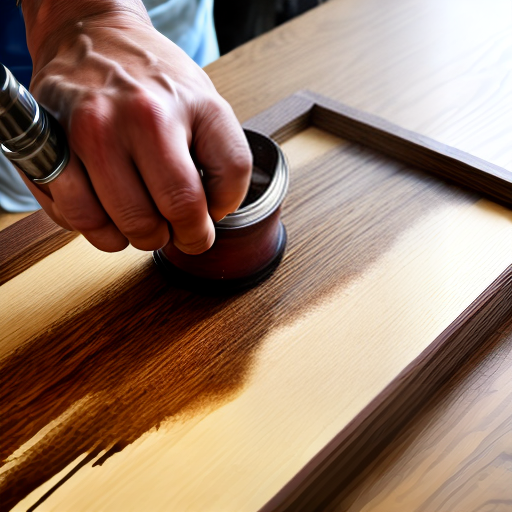
3. Applying Stains & Strain Techniques
When it comes to applying the stain, make sure to apply it in the same direction as the grain of the wood. You can apply the stain with a brush, a cloth, or even a spray gun. The most important part of applying the stain is your technique. The pressure you apply to the tool you use will determine the depth of the color on finished wood. You can use different techniques such as wiping or brushing to create different looks. For example, a wiping technique will give a lighter finish, while brushing will leave a darker, richer finish.
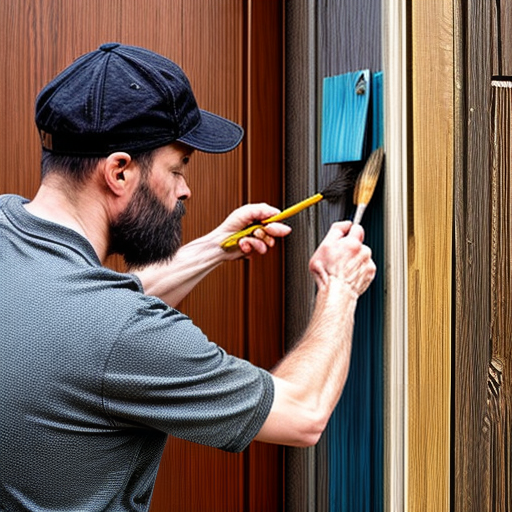
4. Drying and Sealing for a Long-Lasting Finish
Once you have applied the stain, allow it to dry overnight. One of the most important mistakes to avoid is rushing the drying process; this will lead to an uneven color. Once the stain is dry, it’s time to seal the wood, which helps protect it from any external damage. You can use most of the same techniques used to apply the stain to apply a sealant. Make sure not to overload your brush and apply the sealant in the same direction as the grain.
5. Final Touch-Ups and Reapplication
Sometimes, after the first application of stain and sealant, it’s not enough. You may want to create a darker, richer hue or a lighter hue. It is recommended to apply a second or even third layer to achieve the desired effect. You should sand the wood first lightly before reapplying the stain and sealant.
And there you have it! These staining techniques will help you create beautifully aging wood projects and extend their lifespan. As always, practice makes perfect, so don’t be afraid to experiment with different techniques and tools. Happy woodworking! 🪚🎨👨🔧
